Permanent Outdoor Lighting Installation Guide
This permanent outdoor lighting installation guide covers the site walk, track mounting, wiring, and app setup so you know what to expect.
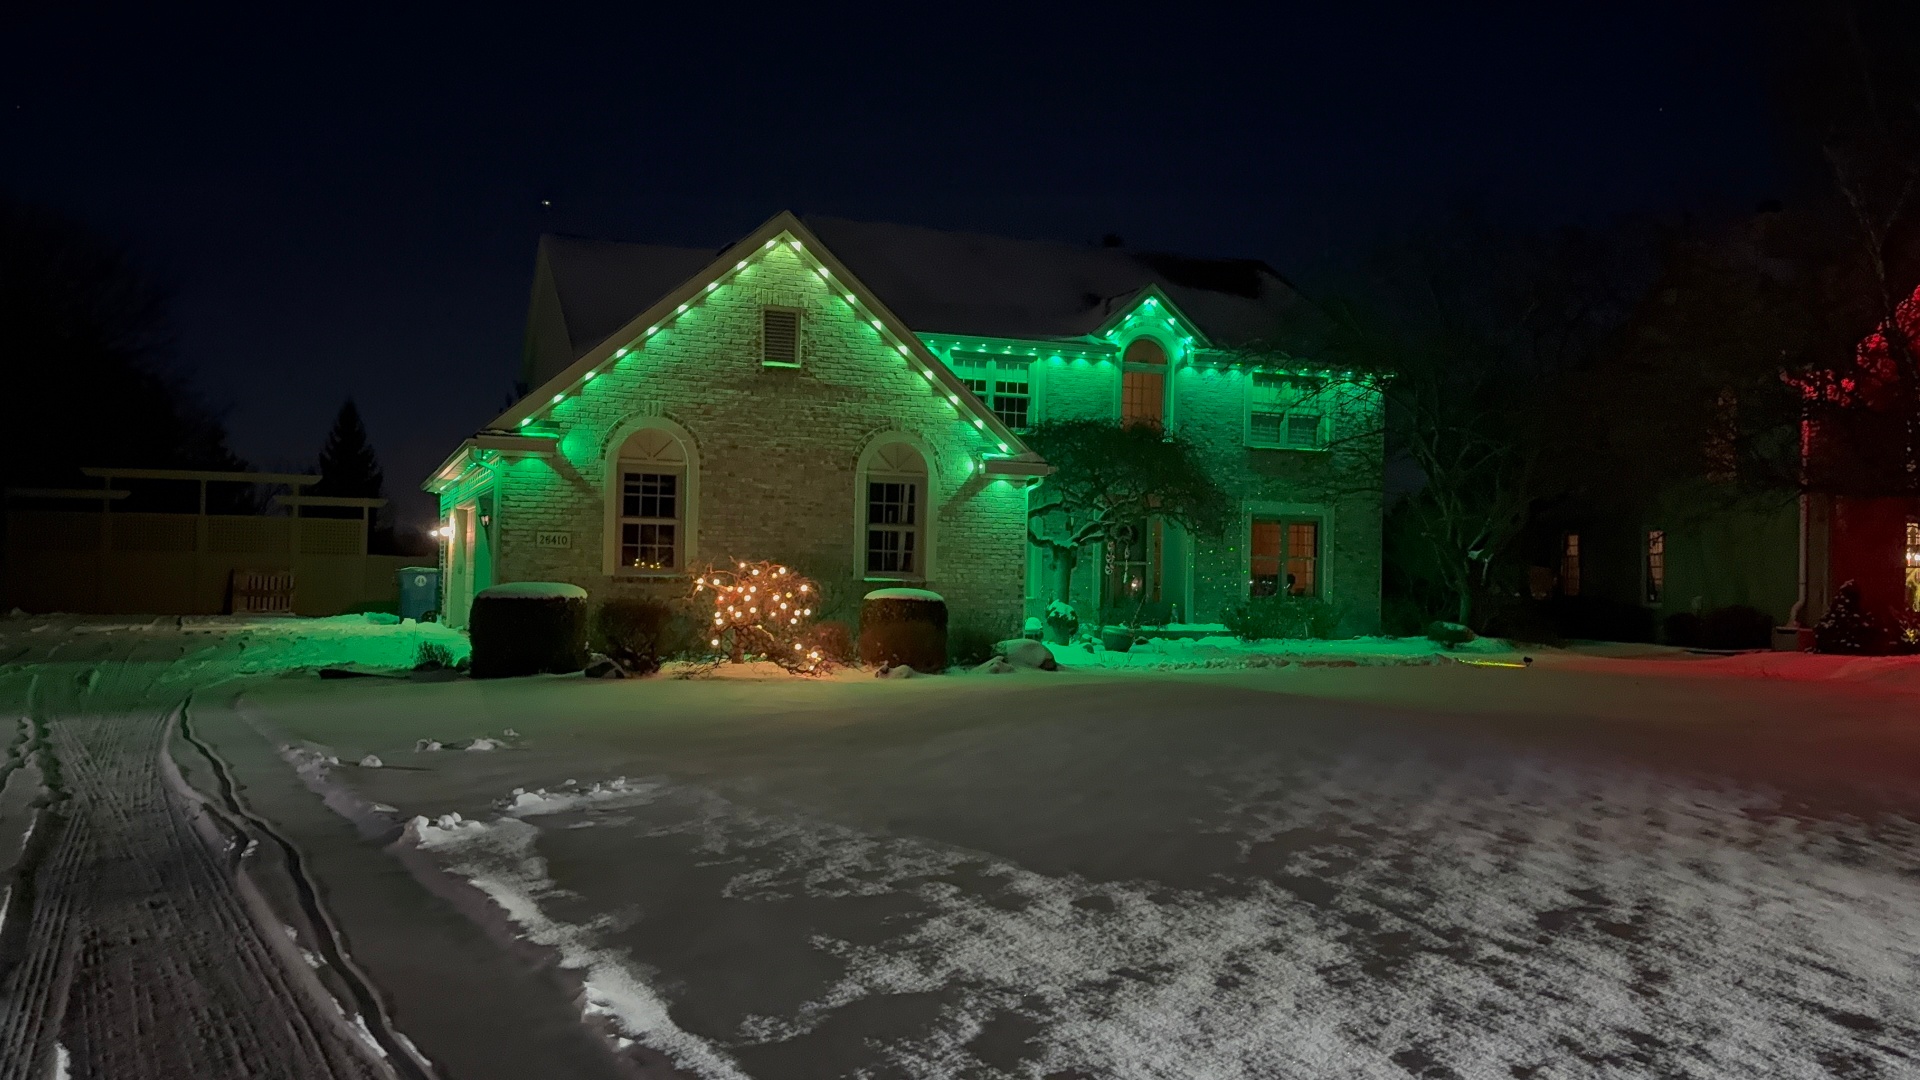
A permanent outdoor lighting installation starts with a site walk to measure your rooflines, followed by mounting an LED track under the fascia, running low-voltage wiring to a controller, and setting up the app. Done right, it's a one-day process for most homes.
We install Jellyfish and Govee systems across Perrysburg, Toledo, and Sylvania, and homeowners often ask what actually happens on install day before they commit.
Here's the process step by step, along with the mistakes that cause problems later.
What happens during the site walk?
Before any hardware goes up, we walk the entire roofline with you, measuring fascia length, checking gutter type, and noting anything that affects mounting, like soffit vents, downspouts, or dormers. This is also when we talk through warm white versus full color needs.
We take photos and measurements for every section of the house, since a quote based on square footage of the home rather than actual linear footage of track needed is usually inaccurate.
This is a good time to flag any specific requests, like avoiding a certain window or running lighting around a detached garage or pergola.
How is the track actually mounted?
Track is cut to length for each section of roofline and mounted directly to the fascia board using a low-profile clip system designed to be nearly invisible during the day. Corners get machined transitions rather than sharp bends, which keeps the light even.
Mounting height and angle matter for how the light spreads across the wall or the sky. A slightly wrong angle can cause hot spots or dark gaps between fixtures.
We also check that mounting points avoid gutter hangers and won't interfere with normal gutter maintenance later.
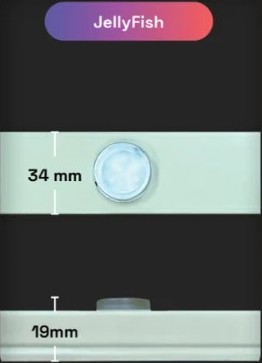
Where does the wiring and controller go?
Low-voltage wiring runs from each track section back to a central controller, which needs access to a standard outlet, ideally in a garage, eave, or other protected spot. We route wiring to stay hidden from the street view wherever possible.
The controller should be mounted somewhere weatherproof but still accessible for future troubleshooting or firmware updates. Burying it behind siding or in a hard-to-reach spot causes problems down the line.
For larger homes with multiple roof sections, you may need more than one controller, which we account for during the quote so there are no surprises on install day.
What does app setup involve?
Once the hardware is live, we connect the controller to your Wi-Fi and set up the app on your phone, naming each zone so you can control the front roofline separately from the garage or back patio if you'd like.
We typically save a handful of scenes during setup, like a warm white default, a holiday scene, and a couple of color options, so you have something ready to go immediately.
We'll walk you through scheduling, so lights can turn on at dusk automatically without you touching the app every night.
- Wi-Fi connection and firmware check
- Zone naming for each roofline section
- Saved scenes for daily use and special occasions
- Dusk-to-dawn or custom scheduling setup
What common installation mistakes should you watch for?
The most common issue we see from other installs is visible gaps at corners where the track wasn't properly measured, creating a dark spot or an obvious seam at night. Careful corner planning during the site walk avoids this.
Another mistake is running wiring in a way that's visible from the ground or leaving slack that flaps in the wind. Clean cable management takes a bit more time but makes a real difference in the finished look.
Skipping a proper controller location is also common, leading to a controller mounted somewhere exposed to direct weather, which shortens its lifespan.
How long does the whole process take?
Most single-family homes take about a day from start to finish, including the mounting, wiring, and app setup. Larger homes or more complex rooflines with multiple wings can take longer.
We schedule the site walk separately from the install so your quote is accurate and there's no guessing on install day about how much track is needed.
If you're also considering landscape lighting or patio lights at the same time, we can often bundle the site walk to save you a second visit.
How do you maintain permanent lighting after installation?
Maintenance is minimal. Occasional cleaning of dust or pollen off the track and periodic firmware updates through the app are typically all that's needed.
If you ever have gutter work or roof repairs done, let that crew know the track is there so they don't accidentally disconnect or damage a section.
The U.S. Department of Energy notes that LED fixtures are built for a long service life compared to older lighting types, which is part of why permanent systems require so little upkeep once installed correctly.
Frequently asked questions
How long does a permanent lighting installation take?
Most homes are done in about a day, from mounting the track to setting up the app. Larger or more complex rooflines can take longer, which we'll flag during your quote.
Will the track be visible during the day?
The track is low-profile and mounted under the fascia, so it's designed to be nearly invisible in daylight. Most people don't notice it until it's lit up at night.
Where does the controller get installed?
The controller needs access to a standard outlet and is typically mounted in a garage, eave, or other protected, weatherproof spot that's still accessible if you ever need service.
Can I add more sections later?
Yes, in most cases we can extend an existing system to cover a detached garage, pergola, or additional roofline later on. Let us know your future plans during the initial quote so we can plan for it.
The bottom line
- A proper install starts with an in-person site walk and accurate measurements.
- Track mounting and corner transitions determine how clean the finished look is.
- Controller placement affects long-term reliability, so it shouldn't be an afterthought.
- App setup with saved scenes and scheduling makes daily use effortless.
- Most homes are completed in about a day with minimal maintenance afterward.
Ready to see the installation process on your own home?
We'll schedule a free site walk, measure your rooflines, and walk you through exactly what installation day looks like.
Schedule a free site walk