How to Install Outdoor LED Lights Right
Learn how to install outdoor LED lights right, covering fixture selection, wiring, weatherproofing, and mounting for a clean, lasting result.
Installing outdoor LED lights right starts with choosing weatherproof, properly rated fixtures, planning your wiring layout before mounting anything, and sealing every outdoor connection. Skipping the planning step is the most common reason DIY installs need rework within a year.
We install permanent LED lighting across Perrysburg, Toledo, and Sylvania, and this covers the fundamentals whether you're installing Jellyfish, Govee, or a simpler landscape lighting setup.
Here's what actually makes an outdoor LED installation hold up over time.
How do you choose the right LED fixtures?
Look for fixtures with an IP65 rating or higher, which indicates they're sealed against dust and water spray, appropriate for outdoor exposure in Ohio and Michigan weather. Indoor-rated fixtures will fail quickly outside no matter how well they're installed.
Color temperature matters too. Warm white in the 2700K to 3000K range tends to look natural on most home exteriors, while cooler temperatures can look harsh or clinical on brick and siding.
If you want the option to shift between white and color, a system like Jellyfish or Govee built specifically for that purpose will outperform a basic single-color LED strip.
Why does wiring planning matter before you mount anything?
Sketch out your wiring runs and total fixture load before you start mounting, so you know where the controller or transformer needs to sit and whether one run can handle the electrical load or needs to be split. This prevents dim fixtures at the far end of a long run.
Plan wiring paths to stay hidden behind trim, gutters, or mulch beds, since exposed wiring both looks unfinished and is more vulnerable to damage from mowing, trimming, or weather.
If you're combining roofline lighting with landscape lighting in the same project, plan both wiring systems together so you're not digging up finished areas twice.
How do you mount fixtures for even light output?
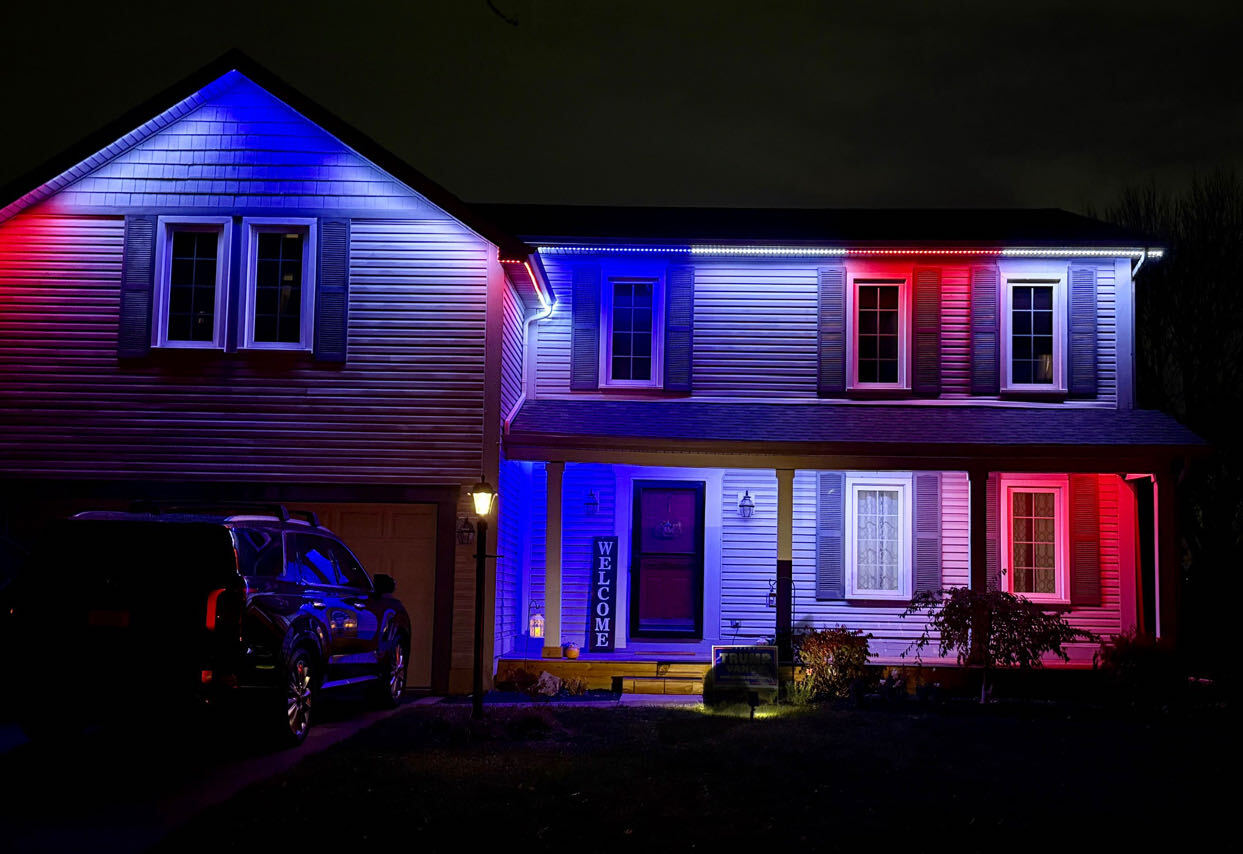
Keep mounting height and angle consistent across each run so the light spreads evenly instead of creating bright spots and dark gaps. Even a slight variance in angle can be noticeable once it's dark.
Clean the mounting surface before attaching clips or brackets so the hardware adheres properly and doesn't loosen over time.
At corners or transitions, use connector pieces designed for turns rather than bending the fixture or track itself, which protects the housing and keeps the light output consistent.
- Confirm IP65 or higher rating for all outdoor fixtures
- Match color temperature to your home's exterior materials
- Keep mounting height and angle consistent across each run
- Use dedicated connectors at corners, not forced bends
What weatherproofing steps are non-negotiable?
Every outdoor electrical connection needs a proper weatherproof connector, not electrical tape or a wire nut alone. Water intrusion at connection points is the number one cause of outdoor LED failures.
Controllers and transformers should be mounted somewhere protected from direct rain, ideally under an eave or inside a garage, with the housing fully sealed before it's powered on.
If you're in an area with heavy snow, check how snow and meltwater accumulate near ground-level fixtures during the first winter to avoid standing water pooling around connections.
Should you test before finishing the install?
Power on and test every section before you do final cable management or close up any housings, since it's much easier to fix a bad connection while everything is still accessible. Walk the full length of the install after dark to check for dim spots or gaps.
Check that any app-controlled system connects reliably to Wi-Fi from the controller's actual mounted location, not just from inside the house, since signal strength at the mounting point matters.
Only after everything tests correctly should you do final wire management and close up any weatherproof housings.
DIY installation versus hiring a professional
DIY installation can work well for smaller landscape lighting projects or a Govee track kit if you're comfortable with basic electrical work and detail-oriented about weatherproofing. It takes more of your own time and the finish may not be quite as clean at corners.
Professional installation includes accurate measuring, correctly sized wiring runs, and a finish that accounts for gutters, trim, and architectural details specific to your home.
For larger or more complex projects, like lighting an entire roofline plus landscape beds, professional installation usually saves time and avoids costly rework from planning mistakes.
How do you maintain outdoor LED lighting after installation?
Periodically check that connections remain sealed, especially after freeze-thaw cycles, and clear any dust, pollen, or plant growth away from fixture lenses. Most LED systems need very little maintenance beyond this.
The U.S. Department of Energy notes that quality LED fixtures last significantly longer than older lighting technology, which is a big part of why a proper initial installation pays off over time.
If you notice a section dimming or flickering, check the nearest connection point first, since a loose or degraded seal is more often the cause than the LED itself failing.
Frequently asked questions
What IP rating do outdoor LED lights need?
Look for at least IP65, which protects against dust and water spray. Fixtures with a lower or no rating are not built for direct outdoor exposure and will fail faster.
Can I mix different LED brands in one installation?
It's technically possible but not recommended, since voltage, connectors, and app control often differ between brands. Sticking with one system keeps things consistent and easier to troubleshoot.
How do I know if my wiring can handle my fixture load?
Add up the total wattage of your planned fixtures and compare it to your transformer or controller's rated capacity, leaving some headroom for future additions. A professional site walk can confirm this for larger installs.
Is it better to install outdoor LED lights myself or hire someone?
Smaller projects can be reasonable DIY jobs if you're comfortable with basic wiring and weatherproofing. Larger or more complex installs, like a full roofline system, generally benefit from professional measuring and installation.
The bottom line
- Fixture quality and IP rating matter more than most people expect for outdoor durability.
- Planning wiring layout before mounting anything prevents dim or unbalanced runs.
- Weatherproof connections at every joint are the single biggest factor in longevity.
- Testing before final close-up catches problems while they're still easy to fix.
- Professional installation is worth it for larger or more complex projects like permanent roofline lighting.
Want your outdoor LED lighting installed correctly the first time?
We handle fixture selection, wiring, and weatherproofing so your system holds up for years, not just one season.
Request a free quote