
What Happens When You Remove a Pond? Regrading Explained
Pond removal involves draining, liner and rock removal, backfilling, and regrading the area so water drains properly afterward. Here's what the process looks like step by step.
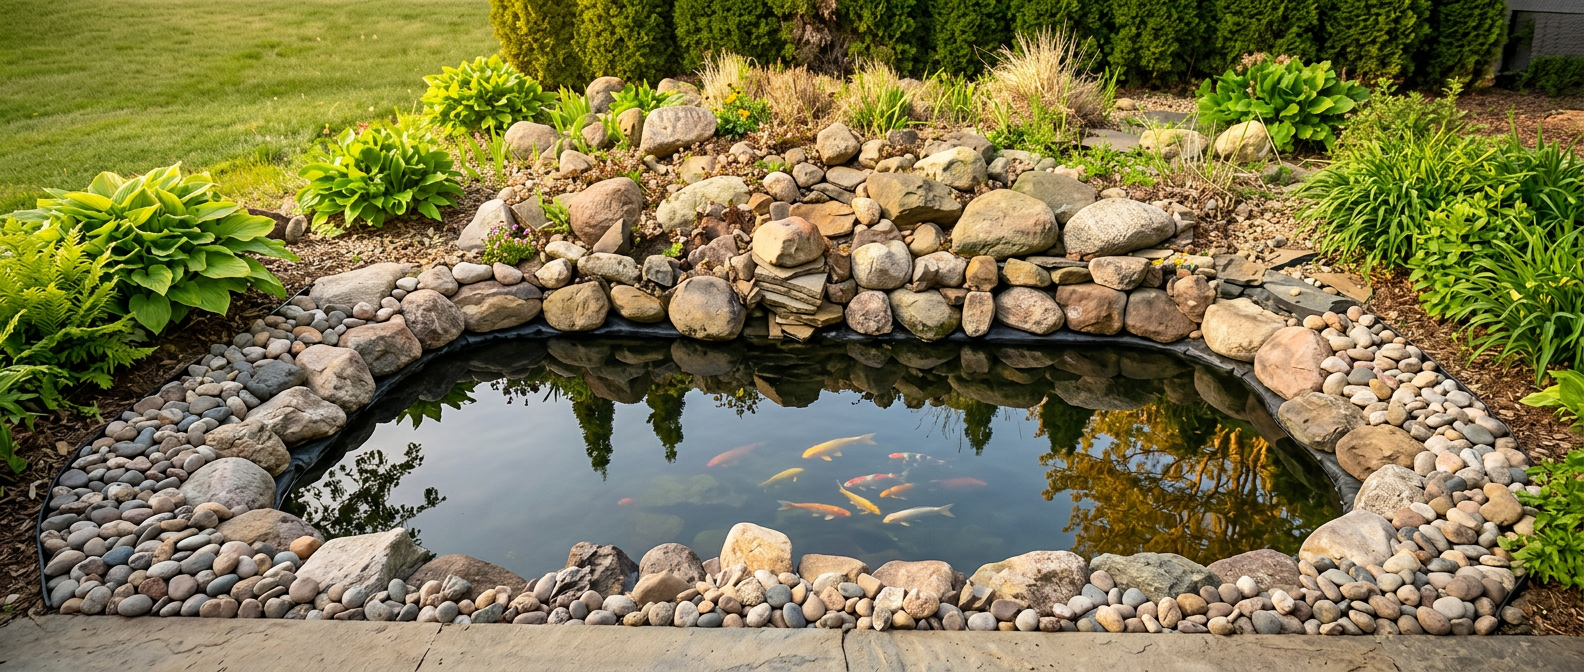
Pond removal starts with draining and relocating any fish, then pulling out the liner, underlayment, and rock, backfilling the excavation with proper soil, and regrading the whole area so water drains away instead of pooling where the pond used to sit. It's more involved than just filling a hole with dirt.
A lot of homeowners underestimate the regrading step specifically. Skip it or rush it, and you end up with a soft, low spot that holds water every time it rains, which is often worse than the pond it replaced.
Here's the full sequence and what to expect at each stage.
Step one: relocating fish and plants
Before anything is drained, any koi or goldfish need a new home, whether that's a smaller feature elsewhere, a friend's pond, or a local aquatic supplier. Aquatic plants can often be saved and moved to a container water garden or given away if you're not keeping any water feature at all.
This step needs to happen first because draining a pond with fish still in it isn't an option, and rushing it risks losing fish that could otherwise be rehomed.
Step two: draining and demolition
Once the pond is empty, the liner, underlayment fabric, and all rock, gravel, and edging material come out. Some of the boulders and edging stone can often be reused elsewhere in the landscape rather than hauled away, which is worth discussing before demolition starts.
Any plumbing, pump lines, or electrical for pumps and lighting gets disconnected and removed or capped properly rather than left buried and forgotten.
Step three: backfilling the excavation
This is where a lot of DIY pond removals go wrong. Backfilling with whatever soil is on hand, dumped in all at once, leaves the ground soft and prone to settling for months or years afterward.
Proper backfill uses clean soil free of large debris, added and compacted in layers rather than all at once. Compacting in lifts, meaning roughly six to eight inch layers at a time, keeps the fill from settling unevenly later and creating a dip in the yard.
- Remove all liner, underlayment, and rock before backfilling
- Use clean fill soil, not debris-heavy spoil
- Compact in layers rather than dumping the full depth at once
- Cap or remove old plumbing and electrical properly
Step four: regrading for drainage
A pond, by design, sits at the low point of its area. Once it's gone, that spot needs a deliberate grade so water sheds away rather than pooling where the excavation used to be.
This usually means sloping the regraded area gently away from the house and toward an existing drainage path on the property, whether that's a swale, a storm drain, or simply the yard's natural low side. Skipping this step is the most common reason a removed pond area still has standing water problems a year later.
Step five: deciding what replaces the pond
Lawn is the simplest option, needing topsoil and seed or sod over the regraded fill. A garden bed works well too, especially if the area gets good sun, though it still needs proper backfill and grading underneath before planting.
If you're considering a patio or hardscape in that spot instead, the compaction requirements are stricter, since a patio base needs a denser, more stable subgrade than lawn does. It's worth deciding this before backfilling begins so the fill and compaction match what's going on top.
How long does the whole process take?
For a typical residential pond, draining, demolition, and hauling debris usually takes a day or two depending on size and access. Backfilling and regrading properly, including time for compaction, often takes another day or two beyond that.
If you're seeding lawn afterward, plan for it to take a season to fully establish, similar to any new lawn area following seasonal cleanup or grading work elsewhere on the property.
Frequently asked questions
Can the old pond liner just be buried instead of removed?
It's not a good idea. A buried liner blocks proper drainage below the surface and can create a hidden void or trap moisture, both of which lead to settling and soft spots over time.
How do I know if my yard's grade needs a full regrade or just a patch?
If the pond was a significant size, a full regrade of the area and its surrounding transition is usually needed to avoid a mismatched slope. Smaller features sometimes need less extensive work, but it's worth having someone assess the whole drainage picture, not just the hole itself.
Can I reuse the pond's rocks and boulders elsewhere in my landscape?
Often yes. Larger boulders and edging stone can frequently be repurposed into a new garden bed border or retaining feature, which also reduces disposal costs.
What if I want a smaller water feature instead of removing everything?
That's a common middle ground. You can remove the pond and install a smaller, lower-maintenance water feature like a bubbling urn or small fountain in its place instead of going back to lawn.
The bottom line
- Relocating fish and plants comes before any draining or demolition
- All liner, underlayment, and rock need to be fully removed, not buried
- Backfill should be compacted in layers to avoid future settling
- Regrading for proper drainage is the step most likely to get skipped or rushed
- Decide what replaces the pond before backfilling so compaction matches the new use
Considering removing a pond you no longer want?
We'll handle the draining, demolition, backfill, and regrading so the area drains properly and is ready for lawn, beds, or whatever comes next.
Explore pond services