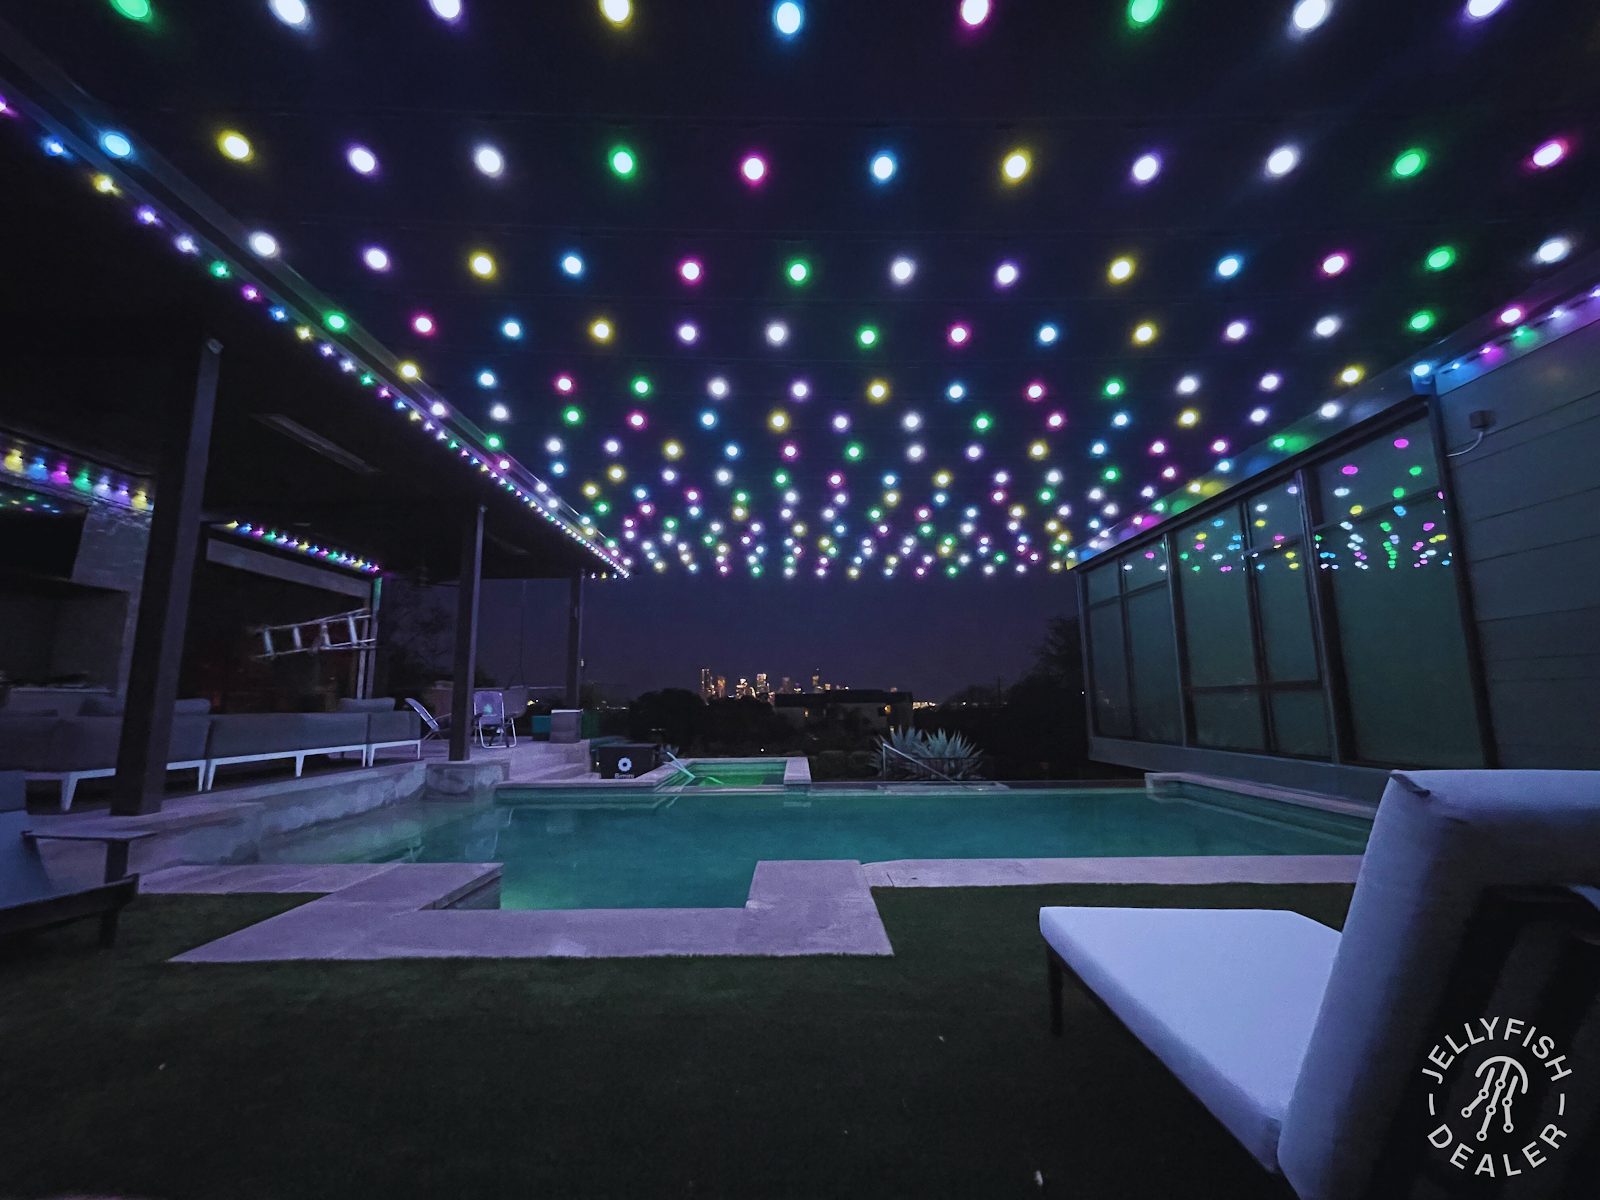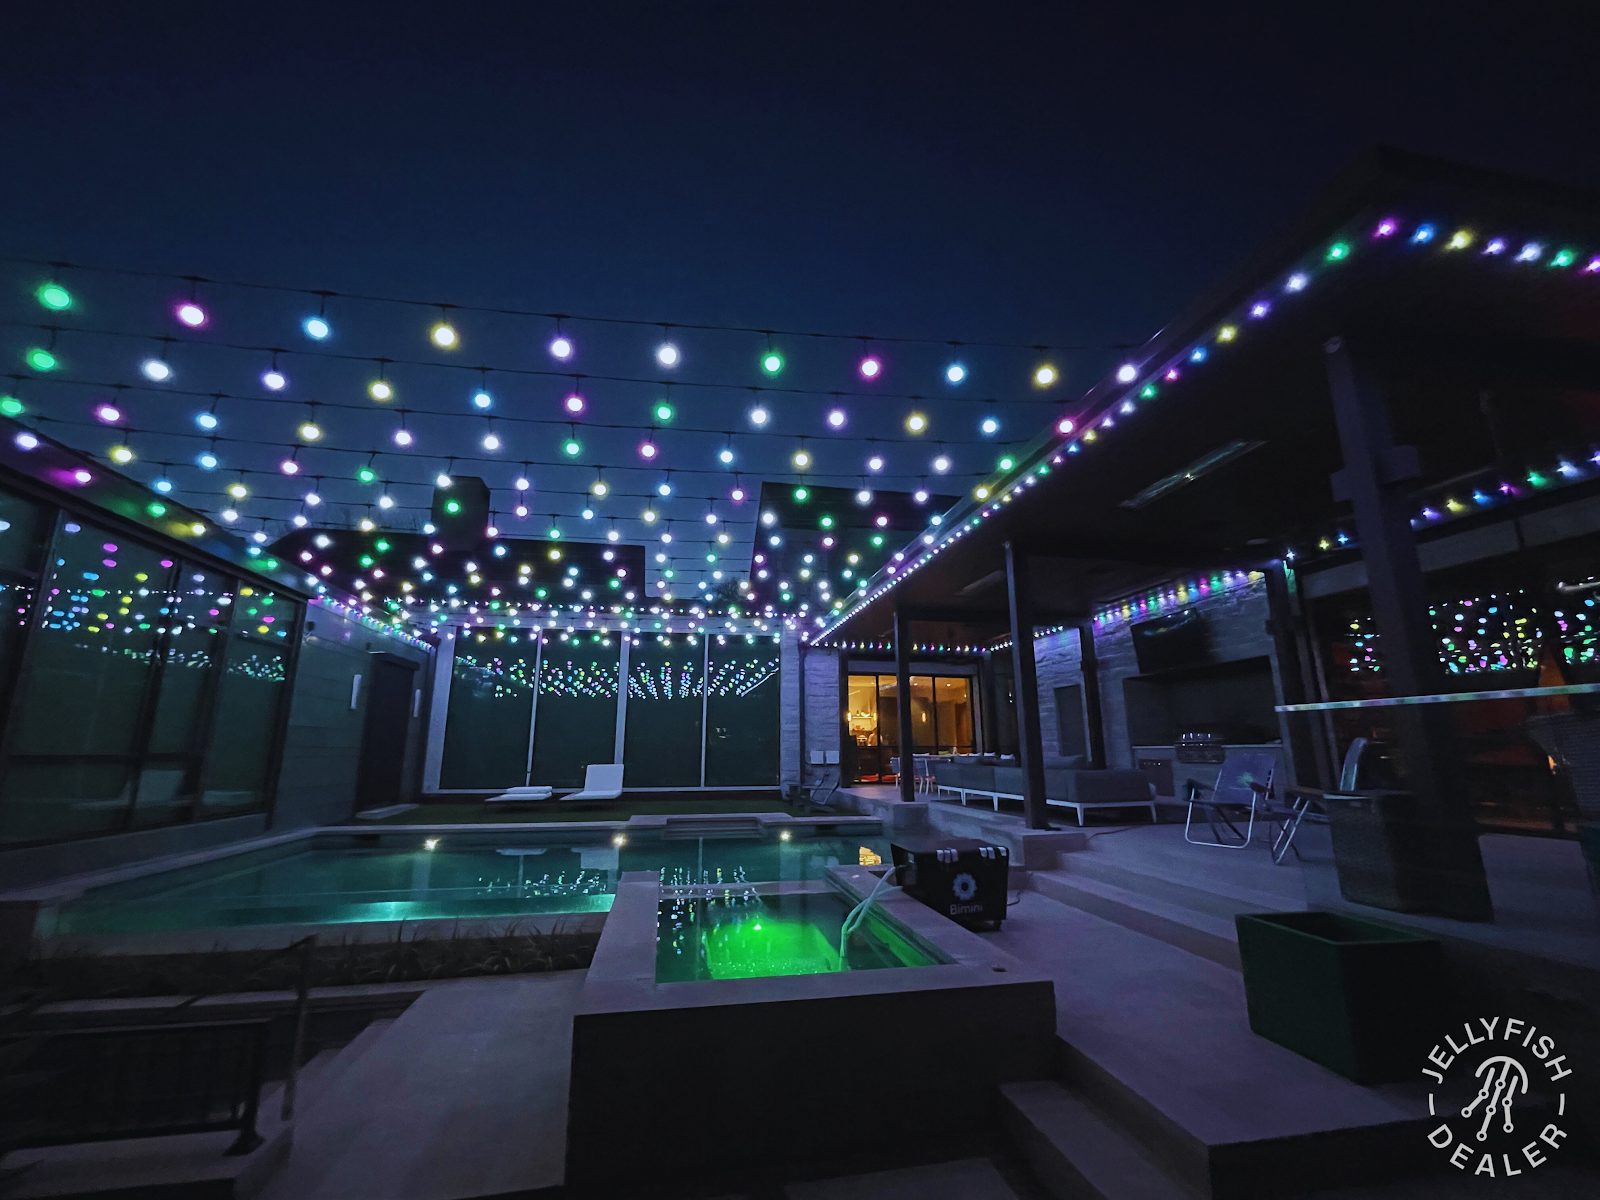
How to Design Patio Lighting That Works
Learn how to design patio lighting that layers warmth, safety, and control so your patio gets used more often, not just admired.
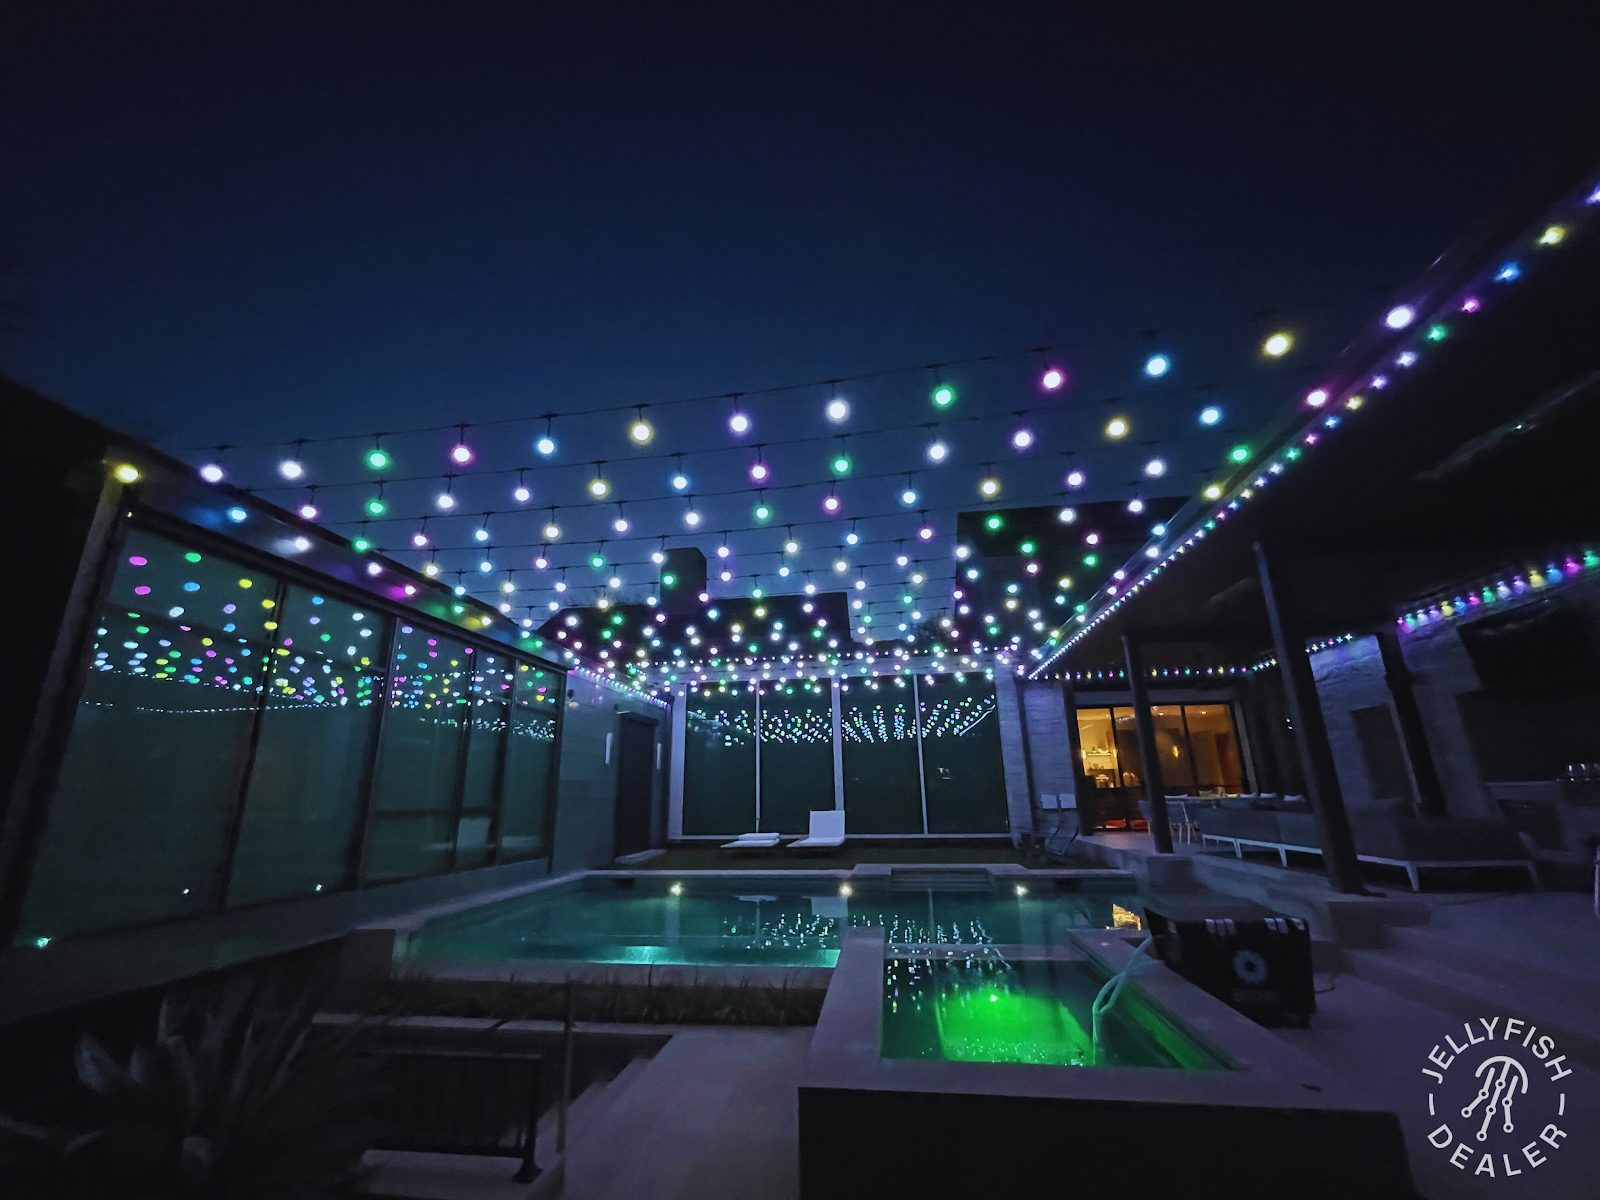
The fastest way to design patio lighting that actually works is to layer three things: warm color temperature, dimmable control, and fixtures placed for the tasks you do outside, not just for looks. A patio with one bright string light overhead gets used a few nights a year. A patio with layered, dimmable light gets used all season.
We install patio lights on decks and patios across Northwest Ohio, and the pattern is consistent. The homes that end up using the space nightly are the ones where lighting was planned before the string lights went up, not added as an afterthought.
Why color temperature makes or breaks the space
2200K to 2700K is the range that feels like evening. Anything cooler and the patio starts to feel clinical, more like a garage or a parking lot than a place to relax.
Warm white also flatters skin tone and wood tones, which matters if the patio is where people actually sit and eat. Cooler, bluer light tends to make food and faces look worse, and most people notice it even if they can't say why.
If you're comparing fixture options, it's worth seeing warm white next to a cooler diode side by side before committing to a full run. The difference is more obvious in person than in a spec sheet.
Put every zone on a dimmer
A dimmer turns one set of fixtures into three settings: bright for setup and cleanup, medium for dinner, and low for sitting outside after dark. Without it, you're stuck with whatever brightness the fixture ships at.
This matters more on patios than almost anywhere else in the yard because people are close to the light source and looking at each other, not just walking past it.
Smart control apps make this easier. Systems like Govee permanent lighting let you save scenes so the same button press gives you the same look every time, instead of fiddling with a dial.
Layer overhead, wall, and path light
One light source, even a good one, tends to look flat and creates hard shadows under overhangs or pergolas. Layering overhead string or track lighting with wall-mounted fixtures and low path lights gives the space depth.
Wall-wash fixtures along a fence line or the house wall fill in shadow without adding glare at eye level. Saber series fixtures work well here because they wash light broadly instead of throwing a single bright point.
Path and step lights near stairs or grade changes aren't optional if people will be walking the patio after dark. This is a safety issue as much as a style one.
Plan mounting and wiring before you shop
Where the power comes from, where fixtures mount, and how the wiring stays hidden should all get decided before you order lights, not during install. Retrofitting a plan onto purchased fixtures usually means visible wire or awkward runs.
Under-eave and post-mounted track hides the hardware and keeps the daytime look clean, which matters since the patio is visible in daylight far more hours than it is lit at night.
If your patio is part of a larger yard project, it makes sense to plan lighting alongside any landscape lighting or hardscape work happening nearby, so runs don't get duplicated.
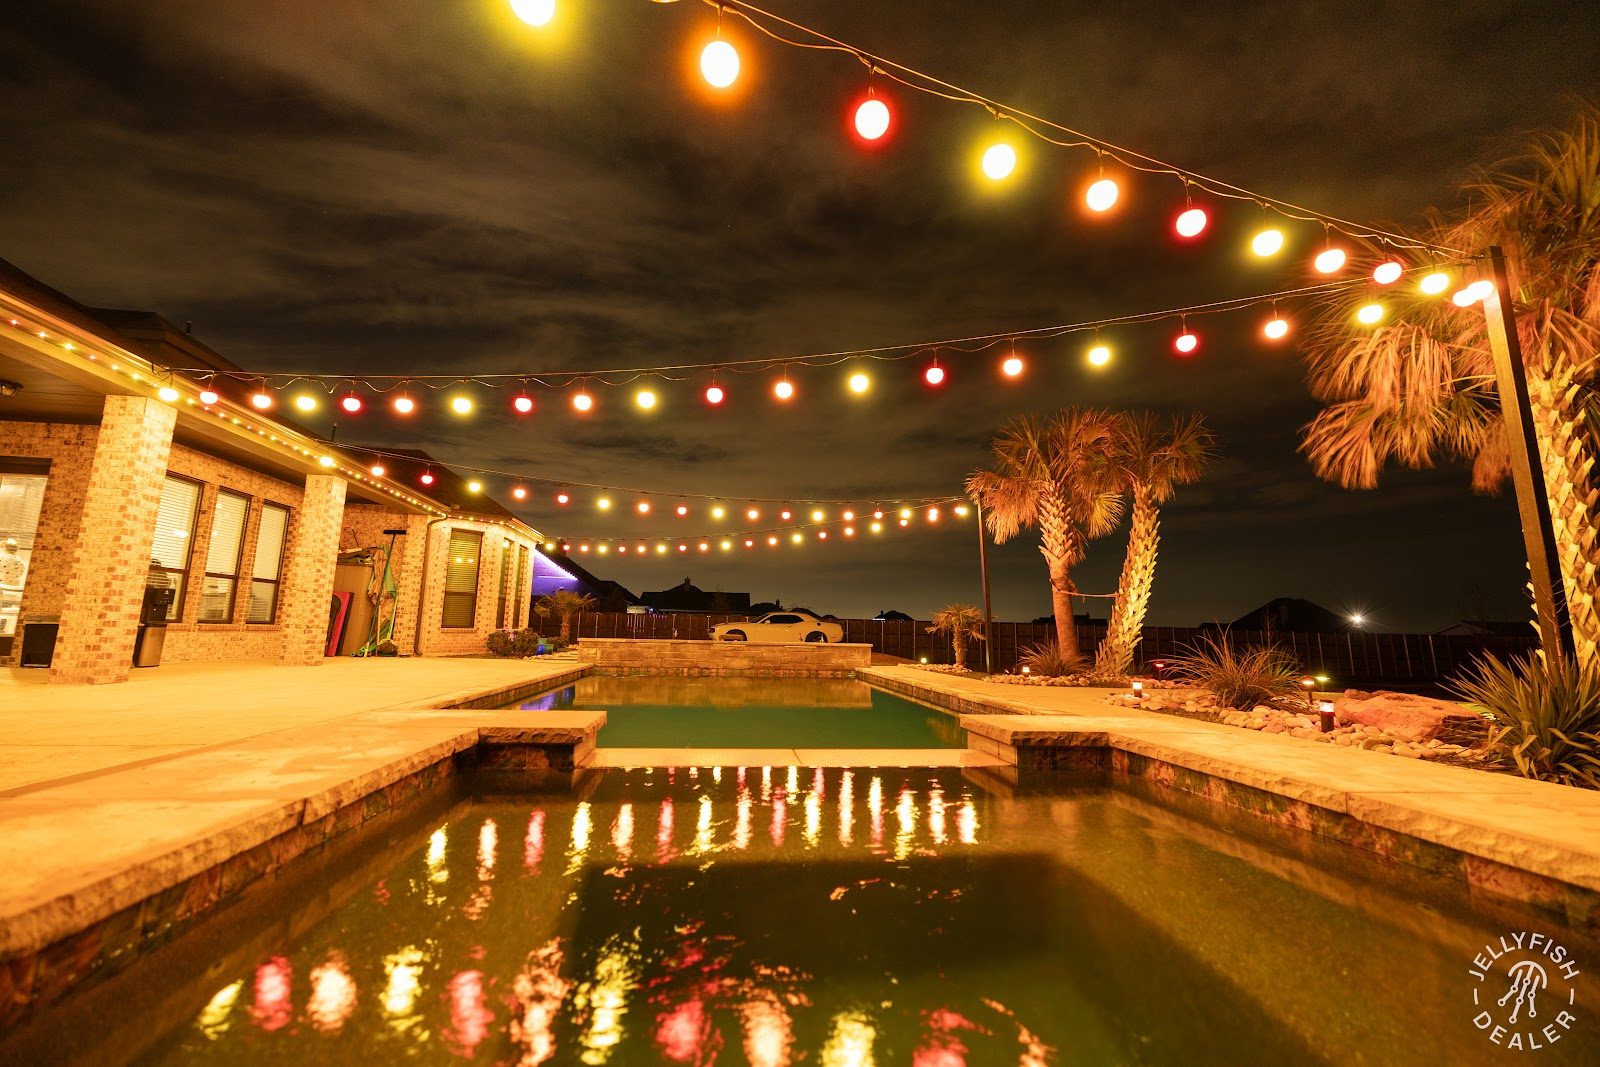
Match brightness to what actually happens in each zone
A dining table needs enough light to see food and faces clearly. A lounge or fire pit area works better dimmer, with light coming from the side rather than straight overhead.
Overlighting a lounge area is one of the most common mistakes we see. It kills the atmosphere that made people want to sit outside in the first place.
Walk your patio at dusk before finalizing a plan and note what you actually do in each spot. That short exercise usually reshapes the layout more than any product catalog will.
Common mistakes worth avoiding
The biggest mistake is buying string lights first and figuring out placement later. The second is skipping dimming because it seems like an extra cost. Neither saves money once you're unhappy with the result and re-doing it.
Cheap plug-in string lights also tend to fail at the connectors within a season or two of Ohio weather, which means replacing sections instead of one continuous system.
- Skipping a dimmer and getting stuck at one brightness
- Using cool white (4000K+) diodes on a relaxation space
- Mounting lights before planning where power and switches live
- Overlighting lounge areas and underlighting dining areas
- Choosing fixtures based on daytime looks instead of nighttime performance
Frequently asked questions
What color temperature should patio lighting be?
2200K to 2700K warm white is the standard for patios. It reads as evening light and flatters skin tone and wood, unlike cooler 4000K+ light which feels more industrial.
Do I need a dimmer for patio lights?
It's not required, but it's the single upgrade that makes the most difference in how often the space gets used. One brightness setting rarely fits dinner, conversation, and cleanup equally well.
Can patio lighting be added to an existing roofline lighting system?
Often yes. If you already have Jellyfish or Govee installed, patio zones can usually run off the same controller so everything is managed from one app.
How much patio lighting is too much?
If you can't dim it down for a relaxed evening, it's too bright for that use. Dining areas can run brighter; lounge and fire pit areas should be able to go noticeably lower.
The bottom line
- Warm white (2200K–2700K) is the right range for nearly every patio.
- Dimming control matters more than raw brightness for how often the space gets used.
- Layer overhead, wall, and path lighting instead of relying on one source.
- Plan wiring and mounting before buying fixtures.
- Match brightness to the actual activity happening in each zone.
See what patio lighting looks like done right
We design and install patio lighting systems that layer warmth, control, and durability for Northwest Ohio homes.
Explore patio lights