A beautiful lighting setup can lose its impact fast when black wires are stretched across mulch beds, tucked loosely under siding, or snaking across a patio edge. If you are wondering how to hide outdoor lighting wires, the right answer depends on where the lights are installed, how permanent you want the system to be, and how much visibility you can tolerate once the sun comes up.
The good news is that hiding wires is not just about appearance. Done correctly, it also helps protect connections from damage, reduces trip hazards, and gives your exterior a more finished, professionally installed look. That matters whether you are lighting a front walkway, outlining a roofline, or building out a patio space you want to enjoy year-round.
How to hide outdoor lighting wires without creating future problems
The biggest mistake homeowners make is trying to make wires disappear too quickly. A wire hidden in the wrong place can get cut by an edger, pinched behind trim, damaged by moisture, or become difficult to service later. The cleanest-looking install is not always the smartest one if it makes maintenance harder.
A better approach is to match the concealment method to the surface. Landscape wires belong in the ground or under mulch with proper protection. Roofline and permanent lighting wires need to follow the architecture and blend with mounting channels or trim lines. Patio and deck lighting usually call for a mix of clips, conduits, and careful routing behind structural elements.
If you start with that mindset, you can hide the wiring without creating a headache the next time a fixture needs service or your landscaping changes.
Start by choosing the least visible wire path
Before a single clip goes in, look at the property in daylight from the curb, front walk, driveway, and patio. The goal is not simply to shorten the wire run. It is to choose a path people naturally do not notice.
That usually means running wires along edges and transitions. Under the lip of a step, behind a retaining wall cap, along a fence rail, at the base of foundation plantings, or tight to soffit lines will almost always look better than crossing an open surface. If a wire must change direction, do it at a corner or architectural break where the eye expects a line to continue.
This is also where professional layout makes a difference. On custom exterior lighting projects, a clean design often comes from planning fixture locations and wire routes together rather than treating the wire as an afterthought.
For landscape lighting, bury or cover with intention
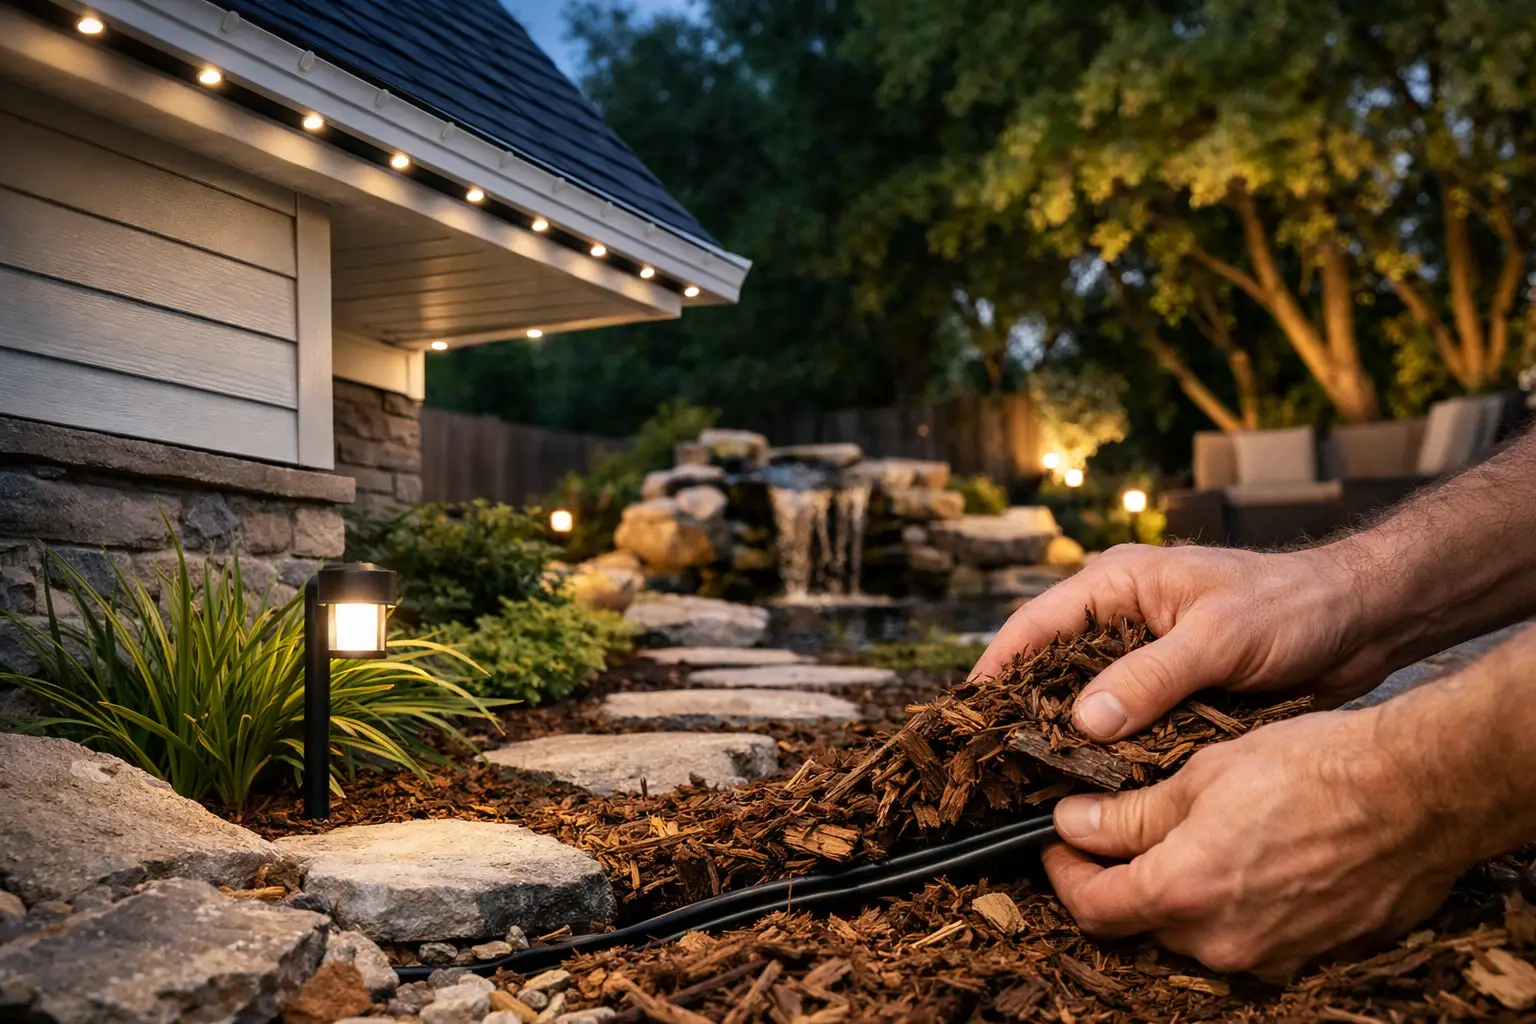
Low-voltage landscape lighting is usually the simplest place to improve wire visibility. In most cases, the wire can be tucked just below the soil surface or covered under mulch. The key word is just. It should be deep enough to protect it from casual exposure, but still accessible if a connection needs to be checked later.
Mulch beds are forgiving because they naturally conceal wires well. The challenge comes during seasonal cleanup, re-edging, or planting. If the cable is left too shallow near the bed edge, it can be cut easily. Running it a little farther inside the bed and securing it neatly keeps it safer and less visible.
In lawn areas, crossing open turf is trickier. A wire laid loosely in grass never stays hidden for long. It can rise to the surface, catch on equipment, or create a maintenance issue. If a line must cross a lawn, it should be installed more deliberately so it is protected from regular mowing and edging.
For patios, steps, and hardscapes, use structure to your advantage
Patio lighting often looks best when the wiring follows the build lines of the space. Under stair treads, behind post trim, beneath railing caps, or along the back side of seat walls are all far better options than trying to camouflage a wire in plain sight.
Adhesive shortcuts can be tempting here, but outdoor conditions are hard on cheap attachment methods. Heat, rain, freeze-thaw cycles, and sun exposure can all cause clips or covers to fail. If the wire route is on a visible hardscape feature, use mounting methods rated for exterior use and sized correctly for the cable.
Color matching also matters more than people expect. A dark wire on white trim stands out immediately, even when tucked tightly. A professional installation accounts for finish, background, and line of sight so the system disappears as much as possible.
How to hide outdoor lighting wires on rooflines and permanent systems
Roofline lighting is where wire management becomes especially important. When homeowners notice a permanent lighting system looking messy, it is usually not the lights themselves. It is the exposed jumps, poorly placed feed lines, or uneven routing near peaks and corners.
For permanent outdoor lighting, the cleanest result comes from integrating the wire path into the architecture. Channels, tracks, soffit lines, fascia edges, and trim breaks all create natural places to conceal the system. That is one reason professionally installed systems like Jellyfish Lighting tend to look so polished in daylight as well as at night. The hardware and wire routing are planned to work with the home, not just attached to it.
The trade-off is that permanent systems require more precision. You cannot simply clip a wire where it is convenient and expect it to disappear. Placement, spacing, and feed locations all need to be thought through in advance. A small routing mistake at the garage peak or front entry can be visible from the street every single day.
If you are considering a year-round lighting upgrade, this is usually the point where DIY starts to lose its appeal. The difference between a clean custom installation and a patchwork one is easy to spot.
Use covers and conduit when hiding is not realistic
Sometimes the best answer is not to make the wire invisible. It is to make it look intentional.
Exterior-rated conduit, paintable raceways, and low-profile covers can be the smartest solution when a wire has to travel across a visible surface. This is common near garages, masonry walls, pergolas, and outdoor kitchens where there is no mulch bed or trim recess to work with.
A neat, straight, well-mounted cover often looks better than a wire that is technically hidden but poorly secured. It also adds protection from weather and accidental contact. The downside is that it becomes part of the visual design, so placement and finish need to be chosen carefully.
This is one of those it-depends situations. On a heavily landscaped front elevation, concealment is usually worth the effort. On a utility side yard or rear wall, a durable cover may be the better long-term choice.
Avoid the common shortcuts that make lighting look amateur
Loose wires stapled randomly to wood, cables draped through shrubs, and connectors left exposed above ground are the usual giveaways of a rushed install. They may look acceptable for a week, but they rarely hold up through a full season.
Another common issue is overhiding. Wires get shoved behind gutters, trapped under siding edges, or packed too tightly under stone or pavers. That may hide them for now, but it can damage the wire or make repairs difficult later. Outdoor lighting should be discreet, not inaccessible.
There is also a safety side to all of this. Outdoor wiring has to deal with moisture, temperature swings, and physical wear. The cleaner the routing and the more protected the cable, the better the system tends to perform over time.
When professional installation makes more sense
If your project includes roofline lighting, multiple zones, long wire runs, or a property where curb appeal is a top priority, hiring a pro usually saves frustration. A professional installer can route wires around trim details, account for power needs, hide transitions more effectively, and avoid the trial-and-error look that often comes with piecing a system together.
That is especially true for homeowners who want the finished product to look premium in the daytime, not just after dark. Family-owned companies that focus on custom exterior work, like Hamilton Home Accents, tend to approach lighting as part of the overall appearance of the property. That means wire concealment, fixture placement, and long-term serviceability all get considered from the beginning.
For homes in Northwest Ohio and Southeast Michigan, weather is part of the equation too. Wind, snow, rain, and seasonal landscape maintenance all put pressure on outdoor systems. A well-routed wire is not just cleaner looking. It is more likely to stay that way.
If you want your outdoor lighting to feel like a true upgrade, not a temporary add-on, treat the wires as part of the design. The lights may get the attention at night, but the craftsmanship shows up all day.