If you are looking up how to install permanent outdoor lighting, chances are you are tired of dragging out extension cords every holiday season or wishing your home looked better after sunset. Permanent lighting solves both problems, but the quality of the result depends on more than just attaching a few lights to the house. The layout, power source, mounting method, and control system all matter if you want a clean look that lasts.
For many homeowners, the appeal is simple. You get year-round curb appeal, flexible color options for holidays and game days, and added visibility around the home without the mess of temporary clips and tangled strands. But there is a difference between a lighting system that looks custom and one that looks added on. Good installation is what makes that difference.
How to install permanent outdoor lighting starts with a plan
Before any channel, track, or light puck goes on the house, step back and decide what you want the system to do. Some homeowners want subtle architectural lighting that blends into the roofline during the day. Others want bright, programmable color for holidays, events, and everyday accents. A patio area may need softer ambient light, while the front elevation may need sharper definition.
This is where many do-it-yourself projects go off course. If you only think about where the lights will go, you can miss how the house actually looks at night. Roof peaks, dormers, covered entryways, soffits, landscaping, and outdoor living areas all affect the final design. The best layouts highlight the shape of the home instead of creating random bright spots.
Measure every section carefully and sketch the main runs. Note corners, peaks, outlets, and any obstacles like gutters or fascia details. Also think about visibility from the street. A light line that looks straight from a ladder can still appear uneven from the driveway if the home has varying roof depths.
Choose the right system before you install
Not all permanent outdoor lighting systems are built the same. Some are designed for a cleaner daytime appearance with low-profile tracks tucked under the soffit. Others are more consumer-focused, with easier app setup but a more visible fixture line. Both can work, but the right fit depends on your priorities.
If you want a polished, built-in look with long-term durability, professional-grade systems usually make more sense. This is one reason many property owners compare options like Jellyfish Lighting and Govee before moving forward. A certified installation often gives you better placement, cleaner wire management, and a finish that matches the home rather than fighting against it.
You also need to think about control features. App control, scheduling, zoning, dimming, and preset colors are standard expectations now. Make sure the system you choose can handle the level of customization you want. If you only care about a few simple scenes, a basic setup may be enough. If you want different sections of the home to run independently, your controller and layout need to support that from the start.
Power and placement matter more than most people expect
One of the biggest parts of how to install permanent outdoor lighting is figuring out power safely and cleanly. The lights themselves are only one part of the system. You also need a power supply, controller location, and a path for wiring that does not create exposed clutter.
Most installations work best when power and controls are placed in a protected, discreet area such as a garage, utility space, or sheltered exterior wall. The ideal location is close enough to reduce unnecessary cable runs but hidden enough to preserve the finished look. If you place the controller too far from the lighting runs, voltage drop and wiring complexity can become issues.
This is also where code compliance matters. Outdoor electrical work has to deal with moisture, temperature swings, and long-term exposure. A licensed and insured installer can help make sure the system is connected properly and safely. For many homeowners, that peace of mind is worth more than the savings of trying to piece everything together alone.
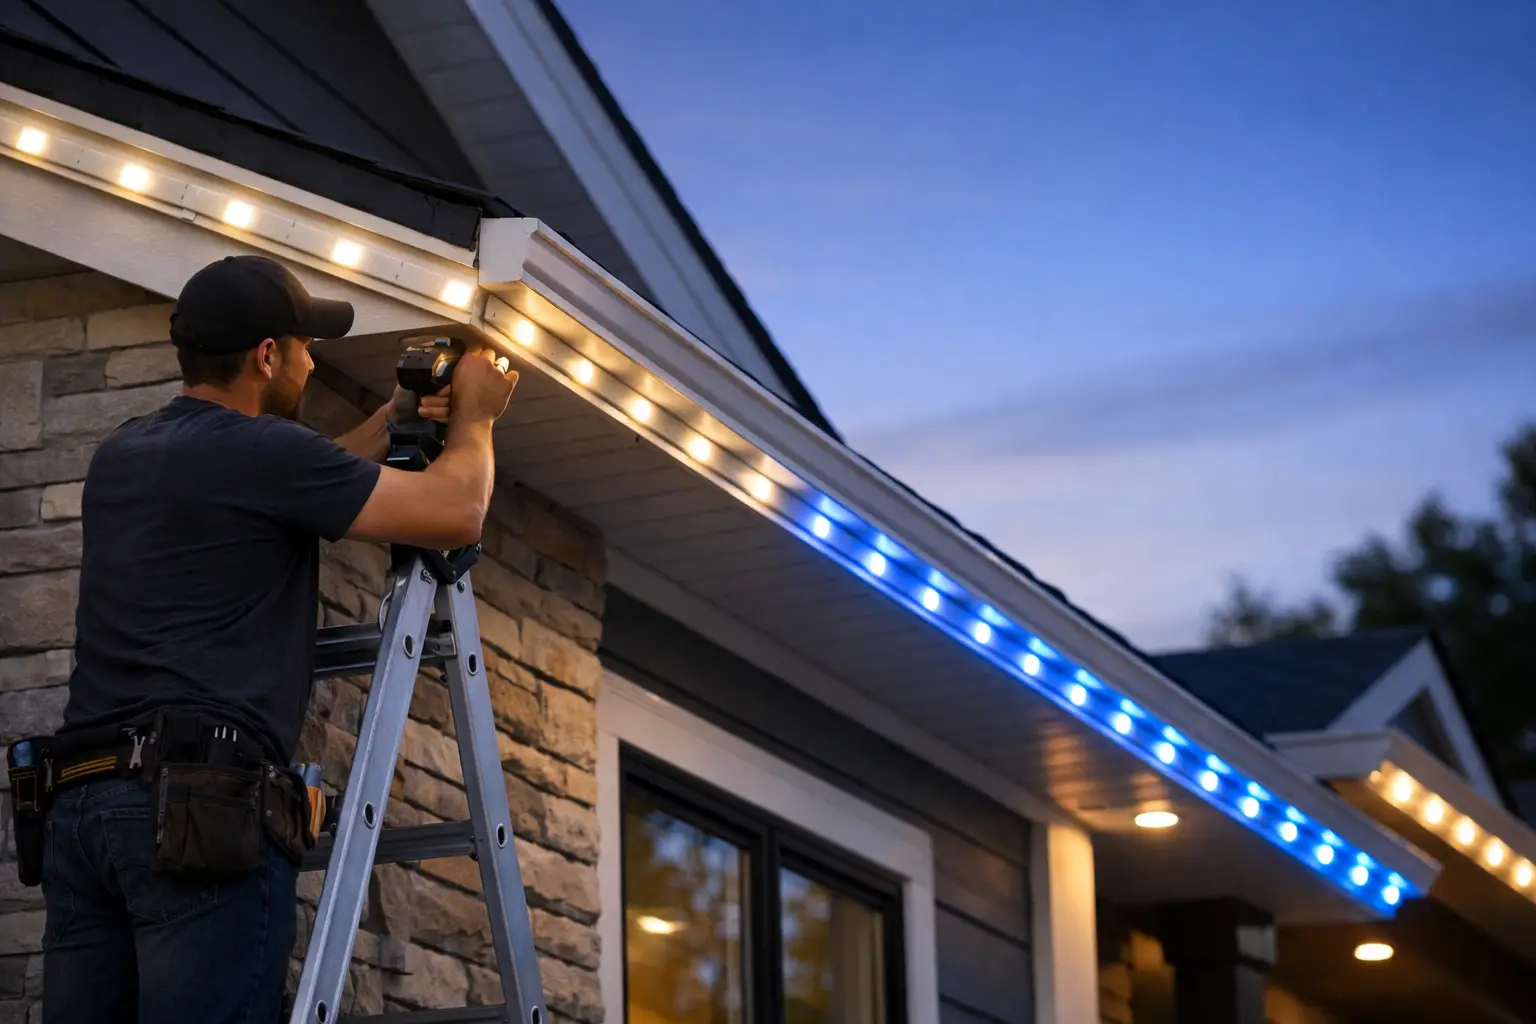
Mounting the lights the right way
After planning and power, the physical install begins. Most permanent systems mount along the soffit or fascia using a track, channel, or manufacturer-specific mounting system. The goal is to keep the fixtures aligned, secure, and as hidden as possible during the day.
Start with a clean surface. Dirt, oxidation, or loose debris can affect how well the components sit and how clean the final line looks. Mark your path before attaching anything. Straight lines are critical, especially on front-facing rooflines where any waviness is easy to spot.
Corners and peaks require extra care. These are the spots where rushed installations tend to show gaps, awkward angles, or uneven spacing. A professional installer will often custom-fit sections or make small adjustments to maintain the visual flow of the lighting pattern. That is one of the clearest differences between a custom installation and an off-the-shelf weekend project.
Wire management is just as important as mounting. Loose wire loops, visible connectors, or inconsistent spacing can make even a premium lighting product look unfinished. Done well, the system should feel integrated into the architecture, not simply attached to it.
Programming and zoning for a better result
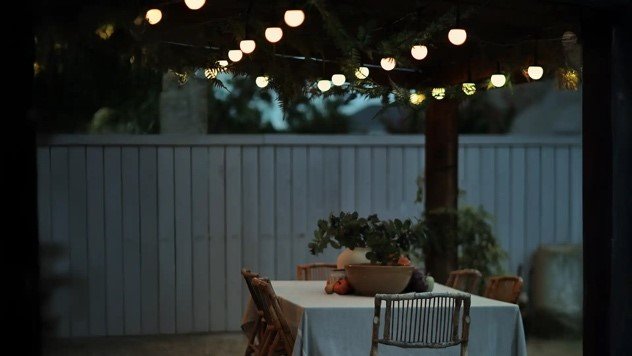
Once the hardware is installed, the next step is setup. This is where the lighting starts to become useful rather than just decorative. Most modern systems allow scheduling, color control, brightness adjustments, and zoning. Zoning means you can operate one section of the house differently from another, which is especially helpful for larger homes, patios, commercial storefronts, or mixed-use spaces.
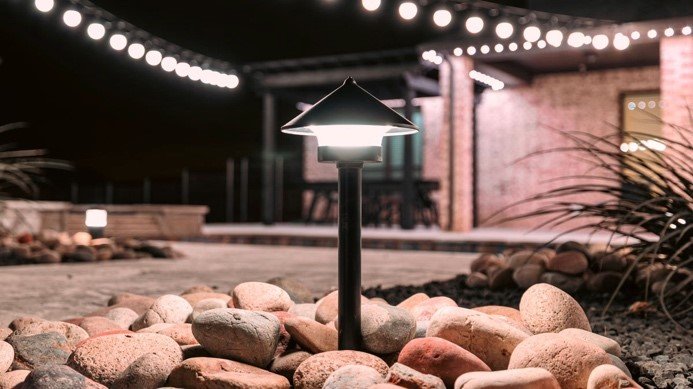
For example, you may want warm white lighting on the front elevation most evenings, but brighter color scenes for holidays or sports weekends. You may also want landscape or patio lighting to run on a different schedule from the roofline. Programming those choices in advance makes the system feel effortless.
The mistake many homeowners make is setting everything too bright. More light is not always better. A well-designed permanent lighting system should add definition, not overpower the home. Soft, balanced output usually creates the most upscale result.
DIY vs professional installation
Can you install permanent outdoor lighting yourself? Sometimes, yes. If you are comfortable on ladders, familiar with exterior mounting, and confident with low-voltage or manufacturer-approved electrical setup, a smaller project may be manageable. That is especially true for simpler consumer systems on straightforward rooflines.
But there are trade-offs. Multi-level homes, long roof runs, custom color zoning, and hidden wiring paths can make the project much more demanding. There is also the issue of finish quality. A permanent lighting system is visible every day, so minor installation flaws do not stay minor for long.
Professional installation tends to make the most sense when appearance, safety, and long-term reliability are priorities. A certified team can evaluate the home, recommend the right system, handle custom fitting, and make sure the final look is clean in both daylight and at night. For homeowners in Northwest Ohio and Southeast Michigan, where weather can be rough on exterior products, proper installation matters even more.
Maintenance is lighter than seasonal lights, but it is not zero
One reason permanent lighting is attractive is that it reduces the yearly hassle of putting up and taking down lights. That does not mean you never need to think about it again. Dirt buildup, weather exposure, software updates, and occasional hardware issues can still happen over time.
The good news is that a quality system should need very little routine attention. An occasional cleaning and periodic app check are usually enough. If a section stops responding or a fixture fails, it is much easier to troubleshoot a well-installed system with organized wiring and properly labeled zones.
This is another reason custom installation has value. When the system is installed with future service in mind, updates and repairs are much less disruptive.
When it is worth calling a pro
If you want the house to look polished, not patched together, professional help is usually the smart move. That is especially true if your goal is a low-profile daytime appearance, reliable scheduling, or a lighting plan that complements landscaping, patios, and other exterior features.
Hamilton Home Accents installs permanent outdoor lighting with that bigger-picture approach in mind. Instead of treating the lights like a stand-alone add-on, the focus is on how the finished system fits the home, improves curb appeal, and works year-round for holidays, entertaining, and everyday use.
The best permanent lighting does not call attention to the hardware. It simply makes the property look better, feel more welcoming, and work harder for you after dark. If that is the result you want, take the time to plan carefully and do not be afraid to bring in a professional when the details start to matter.