That first evening after outdoor lights go up, you find out quickly whether the setup was worth it. If the spacing looks uneven, the app won’t connect, or a section sags after a few days, the whole project feels more frustrating than exciting. If you’re wondering how to set up Govee lights the right way, the goal is simple: make them look clean in daylight, work reliably at night, and hold up through real weather.
For many homeowners, Govee permanent outdoor lights are a strong option when you want color, convenience, and app control without putting up seasonal strands every year. The catch is that good results depend less on the box itself and more on planning, placement, and installation details. A rushed setup usually shows.
How to set up Govee lights before you mount anything
Before adhesive backing gets peeled or clips go in, take a slow walk around your home and decide what you actually want the lighting to do. Some homeowners want soft architectural accent lighting for daily curb appeal. Others want brighter color scenes for holidays, game days, or entertaining. Those two goals can affect placement.
Start with the roofline or the main front-facing elevation if that is your priority. Measure the sections where lights will run, note corners, downspouts, soffits, outlets, and any spots where the line might need to change direction. This is also the time to check whether your soffit material is clean, dry, and stable enough for mounting. Dust, oxidation, or old debris can reduce adhesive hold.
Power is another early decision that matters more than people expect. You need a practical route from the lighting run to the control box and power source. If that route forces awkward bends or leaves the controller exposed in a bad location, the finished job can feel patched together. A clean install usually comes from solving the power path first, not last.
Pick the right mounting location
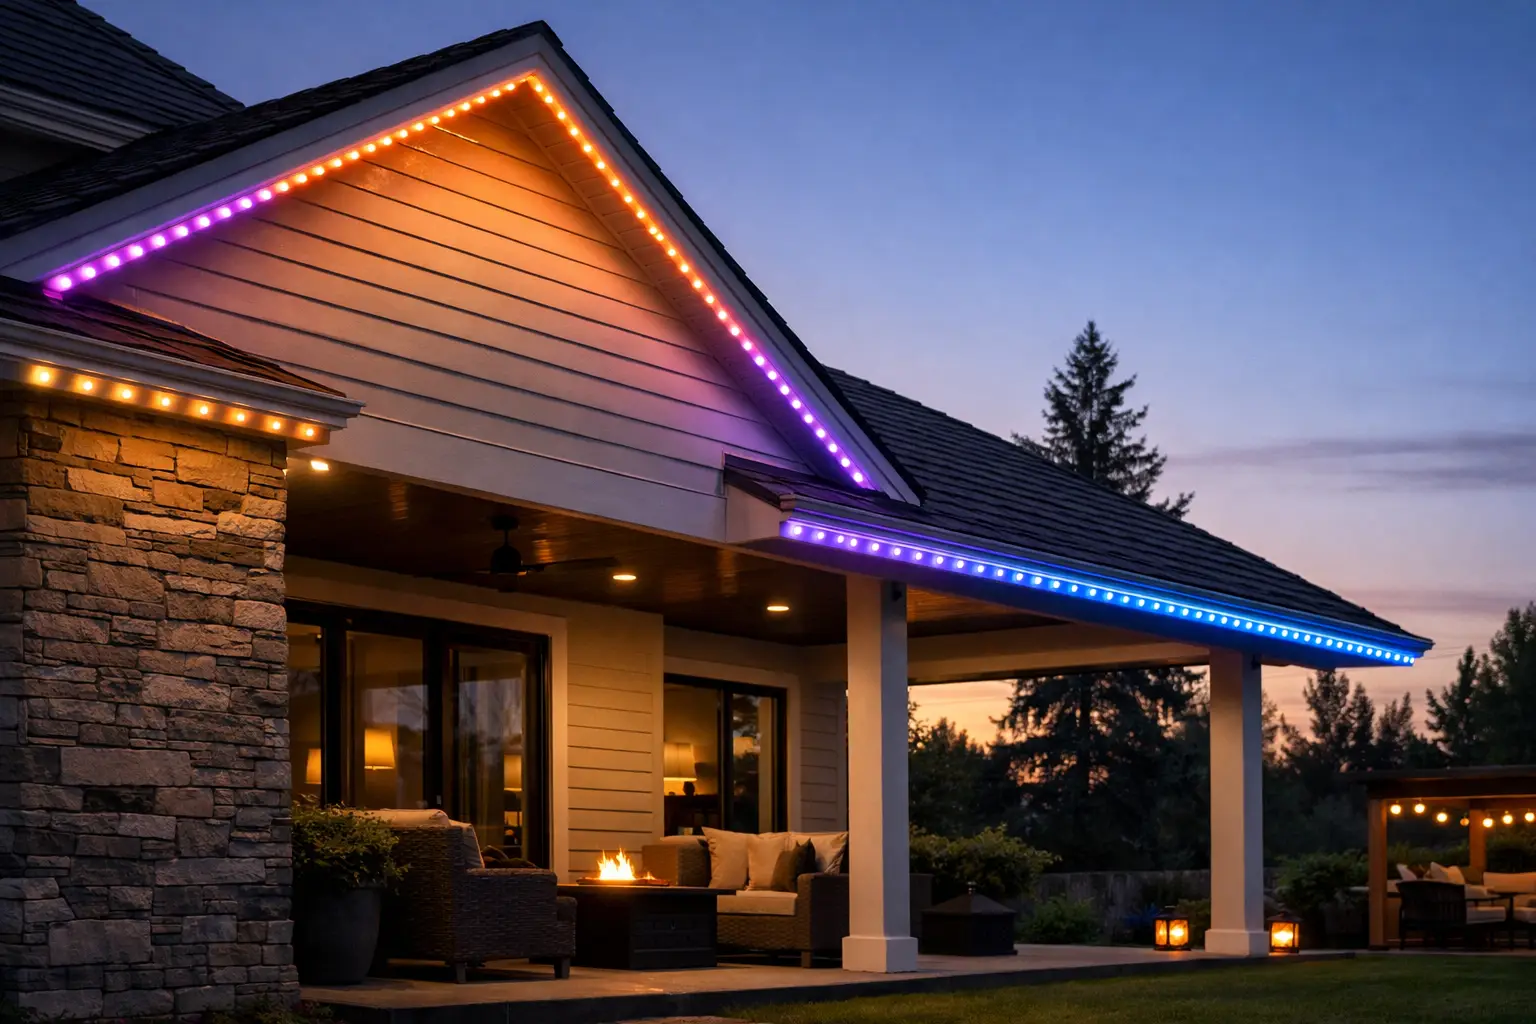
With Govee permanent outdoor lighting, placement under the soffit is what creates that washed cone effect down the wall. If the lights sit too far out or too close to the fascia edge, the pattern can look scattered. If they sit too close to the wall, the effect can be tighter and less balanced than expected.
Most homeowners get the best look by mounting the lights consistently along the underside of the soffit, keeping spacing uniform the entire way. Consistency matters more than chasing perfection at each individual point. A straight, repeatable run usually looks better from the street than one that changes position every few feet.
There is also a practical side to placement. You want the lights tucked far enough under the soffit to stay protected from direct weather, but not hidden so much that the effect disappears. On some homes, deep overhangs help. On others, trim details or gutter layout create compromises. That is where experience helps, because every exterior has its own quirks.
Surface prep makes a big difference
A lot of outdoor lighting problems start with bad surface prep. If you are installing onto soffits or trim, wipe the surface thoroughly and let it dry fully before mounting. If temperatures are very cold, adhesives may not bond as well during installation.
Even if the product includes adhesive backing, many homeowners choose to reinforce the setup with clips for a more secure hold over time. That is usually a smart move, especially in places that deal with wind, heavy rain, or freeze-thaw cycles. Adhesive alone can work, but mechanical support often gives more peace of mind.
How to set up Govee lights in the app
Once the physical layout is planned, app setup is the next piece. Download the Govee Home app, create your account if needed, and pair the controller according to the product instructions. This step is usually simple, but it goes smoother when your phone is on the right Wi-Fi network and you are near the controller during setup.
Take a few extra minutes to name the device clearly. If you plan to add more lighting later, a specific name like Front Roofline or Patio Soffit is easier to manage than a generic default label. Grouping and scheduling get easier when the devices are clearly identified.
After pairing, test basic functions before you finalize every mounted section. Make sure the lights respond to color changes, brightness adjustments, and on-off commands. It is better to catch a connection problem while everything is still accessible than after you have finished routing and securing every inch.
If your Wi-Fi signal is weak near the controller location, that can create headaches later. In some homes, the app works fine near the front of the house but drops off near a detached garage, patio cover, or rear elevation. That does not always mean the product is bad. Sometimes it simply means the signal environment is not ideal.
Run the lights neatly and protect the weak points
The best outdoor lighting jobs are the ones you barely notice during the day. That usually comes down to line management. Keep runs straight, avoid unnecessary slack, and secure transitions at corners and direction changes.
Pay close attention where the line enters or exits less visible areas, where extension sections connect, and where the controller sits. Those are the points most likely to look messy if they are rushed. They are also common failure points if wires are strained or left hanging.
Try not to force tight bends that put tension on the light string. Give connectors room to sit naturally, and use mounting accessories in a way that supports the wire rather than pinching it. The cleaner the routing, the better the long-term result.
Test in sections, not just at the end
One mistake people make is waiting until the entire run is mounted before testing. A better approach is to test as you go. After each major section, power up the system and confirm that the pattern, brightness, and connection still look right.
This helps with troubleshooting too. If a problem appears, you can narrow it down to the most recent section instead of retracing the whole project. It saves time and usually saves frustration.
Expect a few trade-offs with DIY installation
Govee lights can be a good fit for homeowners who enjoy hands-on projects, but there is a difference between getting the lights to turn on and getting them to look professionally integrated. DIY can save money upfront, especially on a simple one-story section. But homes with multiple peaks, second-story rooflines, tricky soffits, or limited outlet access are a different story.
Height is one factor. Safety matters, especially around ladders and long runs. The other factor is finish quality. On paper, outdoor lighting sounds straightforward. In practice, the details decide whether the result looks custom or temporary.
That is why some homeowners start by researching how to set up Govee lights and then decide they would rather have the system laid out and installed by someone who does exterior work every day. There is nothing wrong with that. A lighting system is supposed to improve your home, not become a weekend headache that still looks unfinished on Monday.
When professional installation makes sense
If your home has complex rooflines, high visibility from the street, or you want the cleanest possible daytime appearance, professional installation is often worth considering. A properly planned layout can improve symmetry, hide transitions better, and reduce the trial-and-error that comes with first-time installs.
It also helps when the installer understands the home exterior as a whole. Lighting does not exist in isolation. Soffits, fascia lines, landscaping, patio spaces, and overall curb appeal all work together. That is where a craftsmanship-driven approach stands out.
At Hamilton Home Accents, we see this often with homeowners who want permanent outdoor lighting to feel polished and dependable, not just functional. Whether you install Govee or explore a custom-fit system like JellyFish Lighting, the best outcome comes from treating lighting as part of the property’s overall exterior design.
A few setup choices that affect everyday use
Once your lights are installed, spend time building scenes you will actually use. Most homeowners do not need every possible color effect every night. In real life, a few favorites do most of the work – a warm white for daily use, a holiday preset, a team color theme, and maybe a low-brightness accent mode for evenings on the patio.
Scheduling is worth setting up early too. Automatic on and off times make the system more convenient and can help with consistency and energy use. If brightness feels too intense at first, lower it. Outdoor lighting usually looks better when it complements the house rather than overpowering it.
And if one section of your home looks dramatically brighter than another, revisit placement before assuming the app settings are the issue. Uneven light spread often points back to mounting location or surface angles.
A good outdoor lighting setup should feel easy once it is done. If you plan carefully, mount consistently, and pay attention to power, routing, and app setup, Govee lights can deliver a strong result. And if you would rather skip the ladder work and get a cleaner finish from day one, that is a smart choice too. The right lighting should make your home look better every night, not give you another project to fix.